A 7-Step Walkthrough of How Sagify Actually Works
From download to first import. Here's exactly what you'll do when you set up Sagify, step by step, with the Sage 50 interface you already know.
Most integration software works like a black box. You connect systems, click "sync," and pray something reasonable shows up on the other side. With Sagify, you're in control every step of the way. Here's exactly what the setup and workflow looks like.
In this guide:
- Step 1: Download and install
- Step 2: Connect your Shopify store
- Step 3: Link your Sage 50 company file
- Step 4: Map your GL accounts
- Step 5: Configure customer and product rules
- Step 6: Run a test import
- Step 7: Go live
- Your ongoing workflow
- FAQ

Step 1: Download and Install
Visit ezapps.io/products/sagify-us and download the installer for your Windows machine. It's a standard Windows application — about 150 MB, takes 2 minutes to install.
You get a free 30-day trial with full access to all features. Use it to test on your actual data before you commit to a purchase.
Time: 5 minutes
Step 2: Connect Your Shopify Store
Launch Sagify. The first screen asks you to authenticate with your Shopify store.
What happens:
- Sagify opens your browser to Shopify's OAuth login
- You log in with your Shopify admin credentials
- Sagify requests permission to read orders, customers, and inventory
- You grant access — this is a standard OAuth flow, same as connecting Zapier or other third-party apps
- Sagify confirms the connection and displays your store name
Sagify never stores your Shopify password. It uses OAuth tokens that you can revoke at any time from your Shopify admin.
Time: 3 minutes

Step 3: Link Your Sage 50 Company File
Next, Sagify asks for your Sage 50 company file location and login credentials.
What happens:
- Browse to your Sage 50 company file (usually C:\ProgramData\Sage\Sage 50*CompanyName*.cd)
- Enter your Sage 50 username and password
- Sagify tests the connection and displays your company name
- You're connected
Sagify only stores a reference to your company file and keeps it local — your data never leaves your computer.
Time: 3 minutes
Step 4: Map Your GL Accounts
Now Sagify asks: "Where should orders go in your Sage 50 chart of accounts?"
Configuration screen shows:
- Accounts Receivable: Which AR account for customer invoices? (Usually 1200 or similar)
- Sales Revenue: Which revenue account(s)? (Usually 4000-4999 range)
- Tax Payable: Which tax accounts? (Usually 2100-2199 range)
- Discount accounts: If you apply order discounts, where do they go?
- Shipping revenue/expense: Should shipping be a line item or a separate account?
What you do:
- Select your AR account from a dropdown of all AR accounts in your chart
- Select your primary sales revenue account
- Select your tax accounts (one for sales tax, one for GST if applicable, etc.)
- Confirm or skip discount/shipping configuration
If you have a complex chart — separate revenue accounts per product line, per channel, or per geography — you'll set up custom mapping rules here. We'll cover that in the next step.
Time: 5-15 minutes (longer if you have custom mapping rules)

Step 5: Configure Customer and Product Rules
This is where Sagify gets powerful. You tell it how to match Shopify data to Sage 50 data.
Customer Matching
The question: When a Shopify customer buys, how should Sagify match them to an existing Sage 50 customer record?
Your options:
- Match by email: If the email exists in Sage 50, use that customer
- Match by name: If the name exists, use that customer
- Create new on every order: Each order gets a new customer (useful for guest checkouts)
- Route all to a single account: All Shopify orders go to an "Online Sales" customer (simplest option)
You also define rules for new customers: what email domain should be normalized, how should guests be labeled, etc.
Product Matching
The question: When a Shopify order includes a product, how does Sagify find the matching Sage 50 stock code?
Your options:
- Match by SKU: If Shopify product SKU matches Sage 50 stock code, use that item
- Match by barcode: Use barcode instead of SKU
- Auto-create missing items: If a product doesn't exist in Sage 50, create it with the Shopify data
- Route to a default item: All products go to a "Shopify Sales" catch-all (simple, but loses detail)
Time: 10-20 minutes
Step 6: Run a Test Import
Before going live with real data, you test on a small batch.
What you do:
- Select a date range — typically "last 7 days" or "last 30 days"
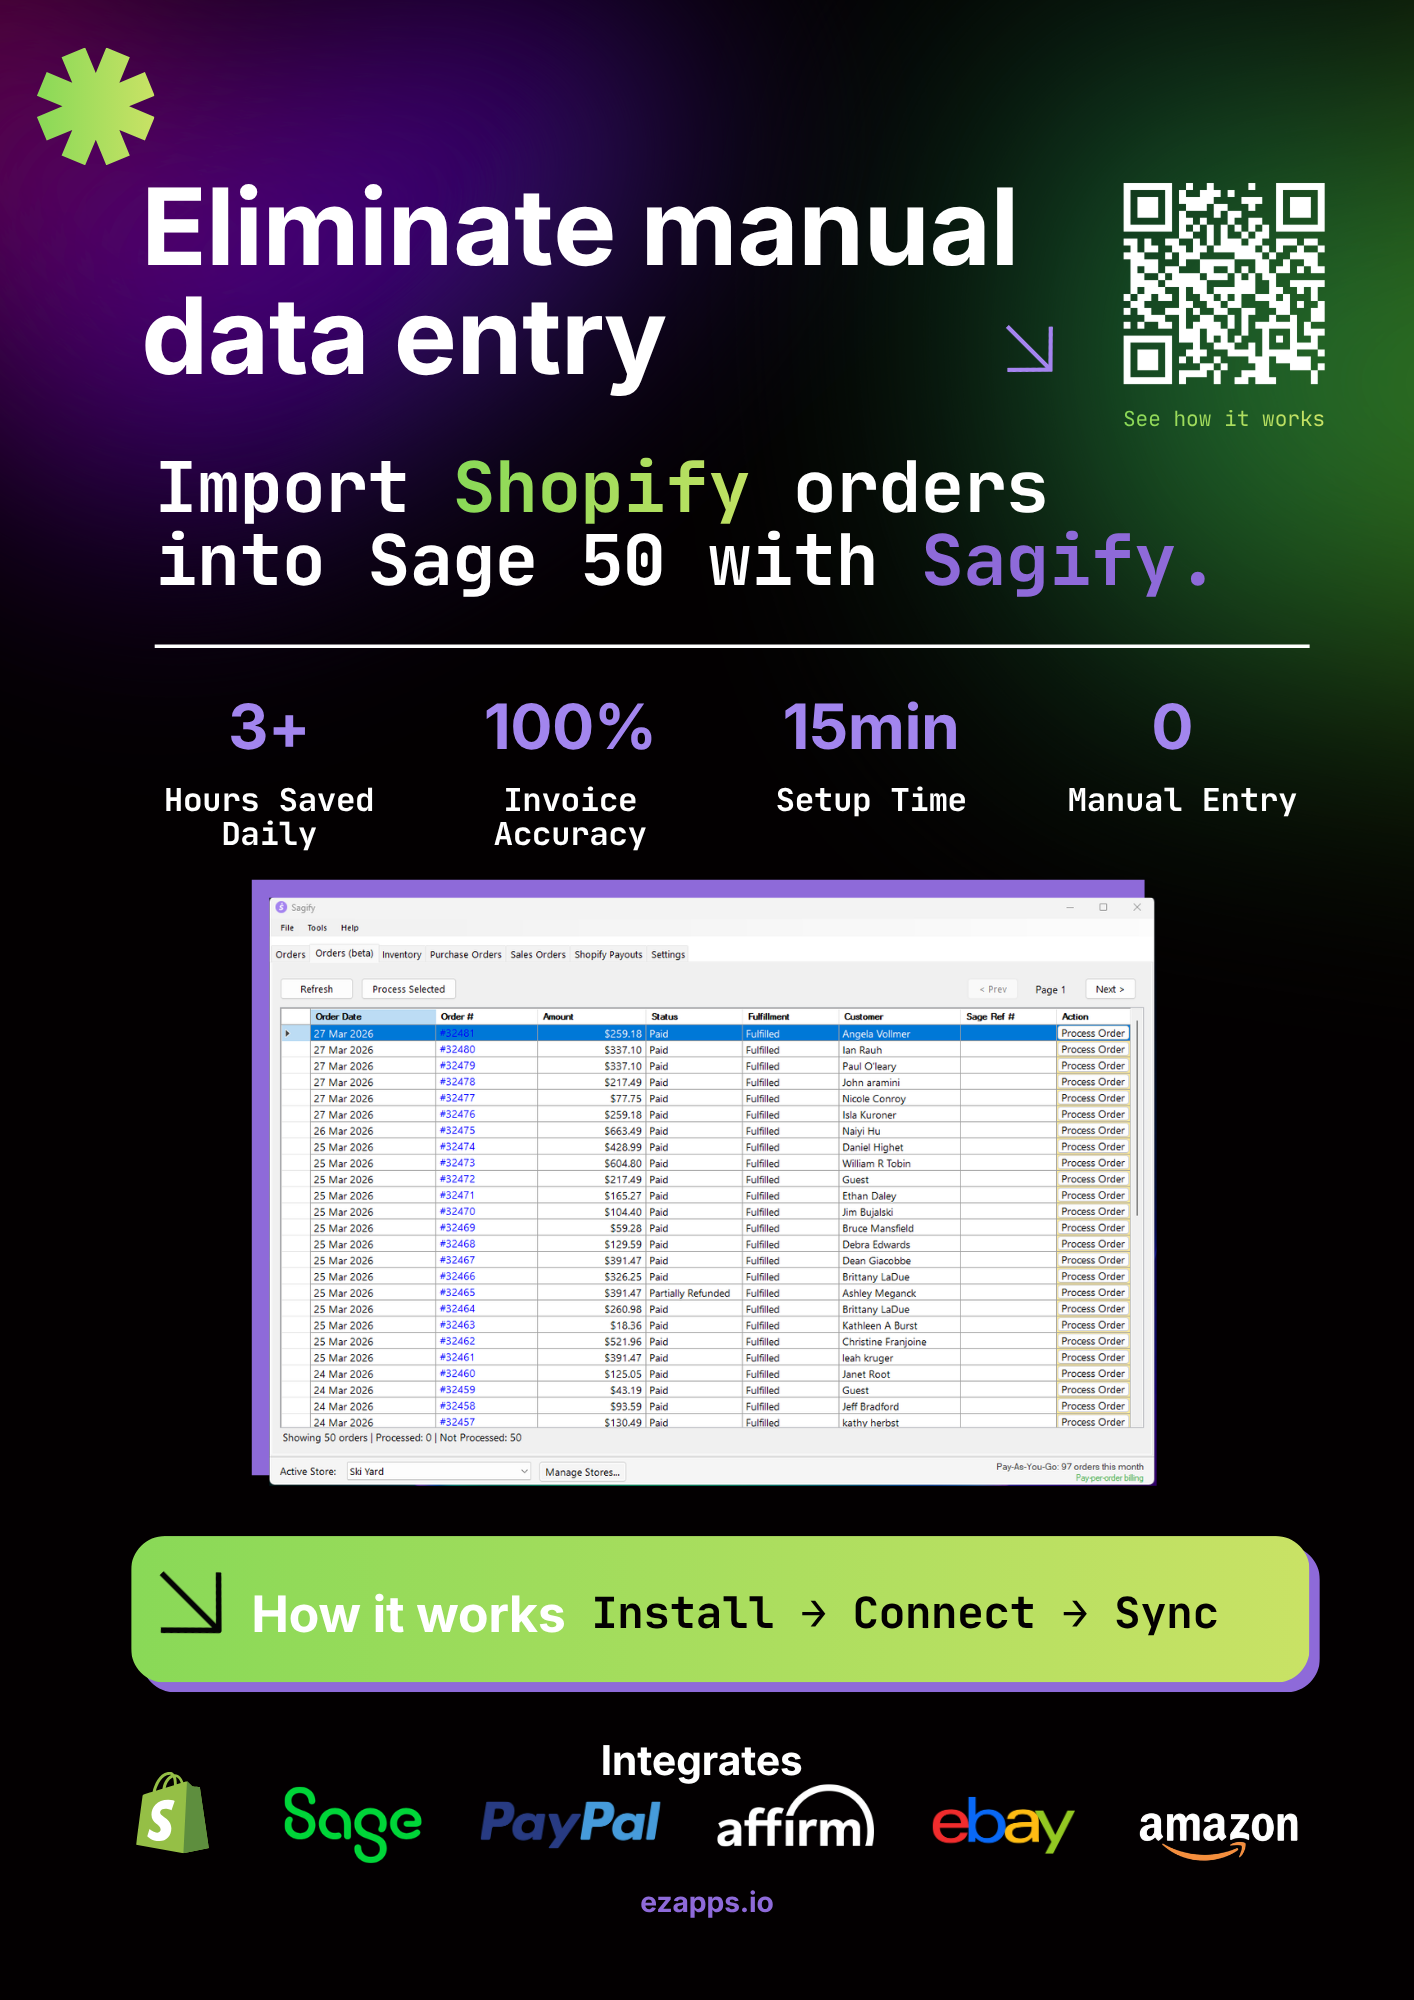
- Click "Preview" — Sagify shows you what orders it found and what it will do with them
- Review the preview to make sure the matching rules are working as expected
- Click "Process" to run the import
- Check Sage 50 to verify the invoices were created correctly
Each invoice processes in under 2 seconds. If you're importing 50 orders, the whole process takes under 2 minutes.
Verification steps:
- Open a few invoices in Sage 50 and confirm the customer, line items, and totals look correct
- Check that customers are matched correctly (not creating duplicates)
- Verify GL accounts are correct based on your mapping rules
- Confirm taxes are calculated right
If something looks wrong, you can roll back by marking those invoices as "removed from sync" in Sagify. They'll be skipped on the next run.
Time: 15-30 minutes

Step 7: Go Live
Once you've verified a test import, you're ready to live-sync.
What changes:
- You now run Sagify on a regular schedule — daily, every few days, or weekly, depending on your preference
- Each run automatically picks up where the last one left off (no duplicates, ever)
- New orders from Shopify flow into Sage 50 automatically
Most merchants set this up to run once per day, first thing in the morning. Takes about 5 minutes to check that it ran successfully.
Time: 2 minutes per run (ongoing)
Your Ongoing Workflow
Daily (takes 5 minutes)
- Open Sagify
- Select date range (usually "yesterday")
- Click "Process"
- Verify in Sage 50 that invoices were created (spot-check 2-3)
- Close Sagify
That's it. The other 2-4 hours per day of manual entry is gone.
Weekly (takes 10 minutes)
- Review any flagged orders (product not found, customer not matched, etc.)
- Fix them in Shopify or Sage 50 as needed
- Re-import if necessary
Monthly (takes 20 minutes)
- Run Payout Reconciliation to match Shopify deposits to your bank account
- Review the bank deposit record Sagify created
- Your bank reconciliation is done
FAQ
What if I make a mistake in my GL mapping?
You can update your mapping at any time. The change applies to future imports. Historical invoices already imported are not affected. If you want to reclassify historical invoices, you can edit them in Sage 50 or ask our support team for help.
How do I handle products that don't exist in Sage 50 yet?
You have two options:
- Auto-create — Sagify creates the stock item in Sage 50 automatically
- Flag for review — Sagify flags the order and waits for you to create the item in Sage 50, then re-import
Most merchants choose auto-create for speed.
What if the same customer places two orders with slightly different information?
Sagify's customer matching is intelligent. It matches on email first (case-insensitive), then name. If the email matches, it's the same customer, even if the name is spelled differently. This prevents duplicate customer records.
Can I import historical orders from years ago?
Yes. You can run a one-time import for any date range. Useful if you're backfilling before going live.
What happens if Sagify crashes in the middle of an import?
Sagify is transactional — either an import completes or it rolls back entirely. If it crashes, nothing partial is left in Sage 50.
Can I run multiple Sage 50 company files with one Sagify installation?
Yes. Sagify can be configured to sync to multiple Sage 50 company files (different locations, different entities, etc.). Each has its own configuration.
Is there a way to automate the daily run, or do I have to click it manually?
You can set up Windows Task Scheduler to run Sagify automatically at a set time each day. You can also trigger it manually whenever you want. Most merchants keep it manual so they can do a quick spot-check.
Related Reading
- The 3 Sagify Features Every Shopify + Sage 50 User Should Run - Feature overview
- Shopify Sage 50 Integration - The Complete Guide - Complete integration overview
- Custom GL Mapping: Making an Integration Work Within Your Sage 50 Setup - Deep dive on GL mapping
- How to Automatically Import Shopify Orders into Sage 50 - Order import mechanics
- A Buyer's Guide to Shopify Accounting Integrations - Evaluation criteria
- How to Import Shopify Orders into Sage 50 - Walk through the first import step-by-step
- Common Sage 50 Shopify Integration Issues - What to check if a step goes sideways
Ready to get started?
Schedule a demo to see how we can help streamline your workflow.
Related articles
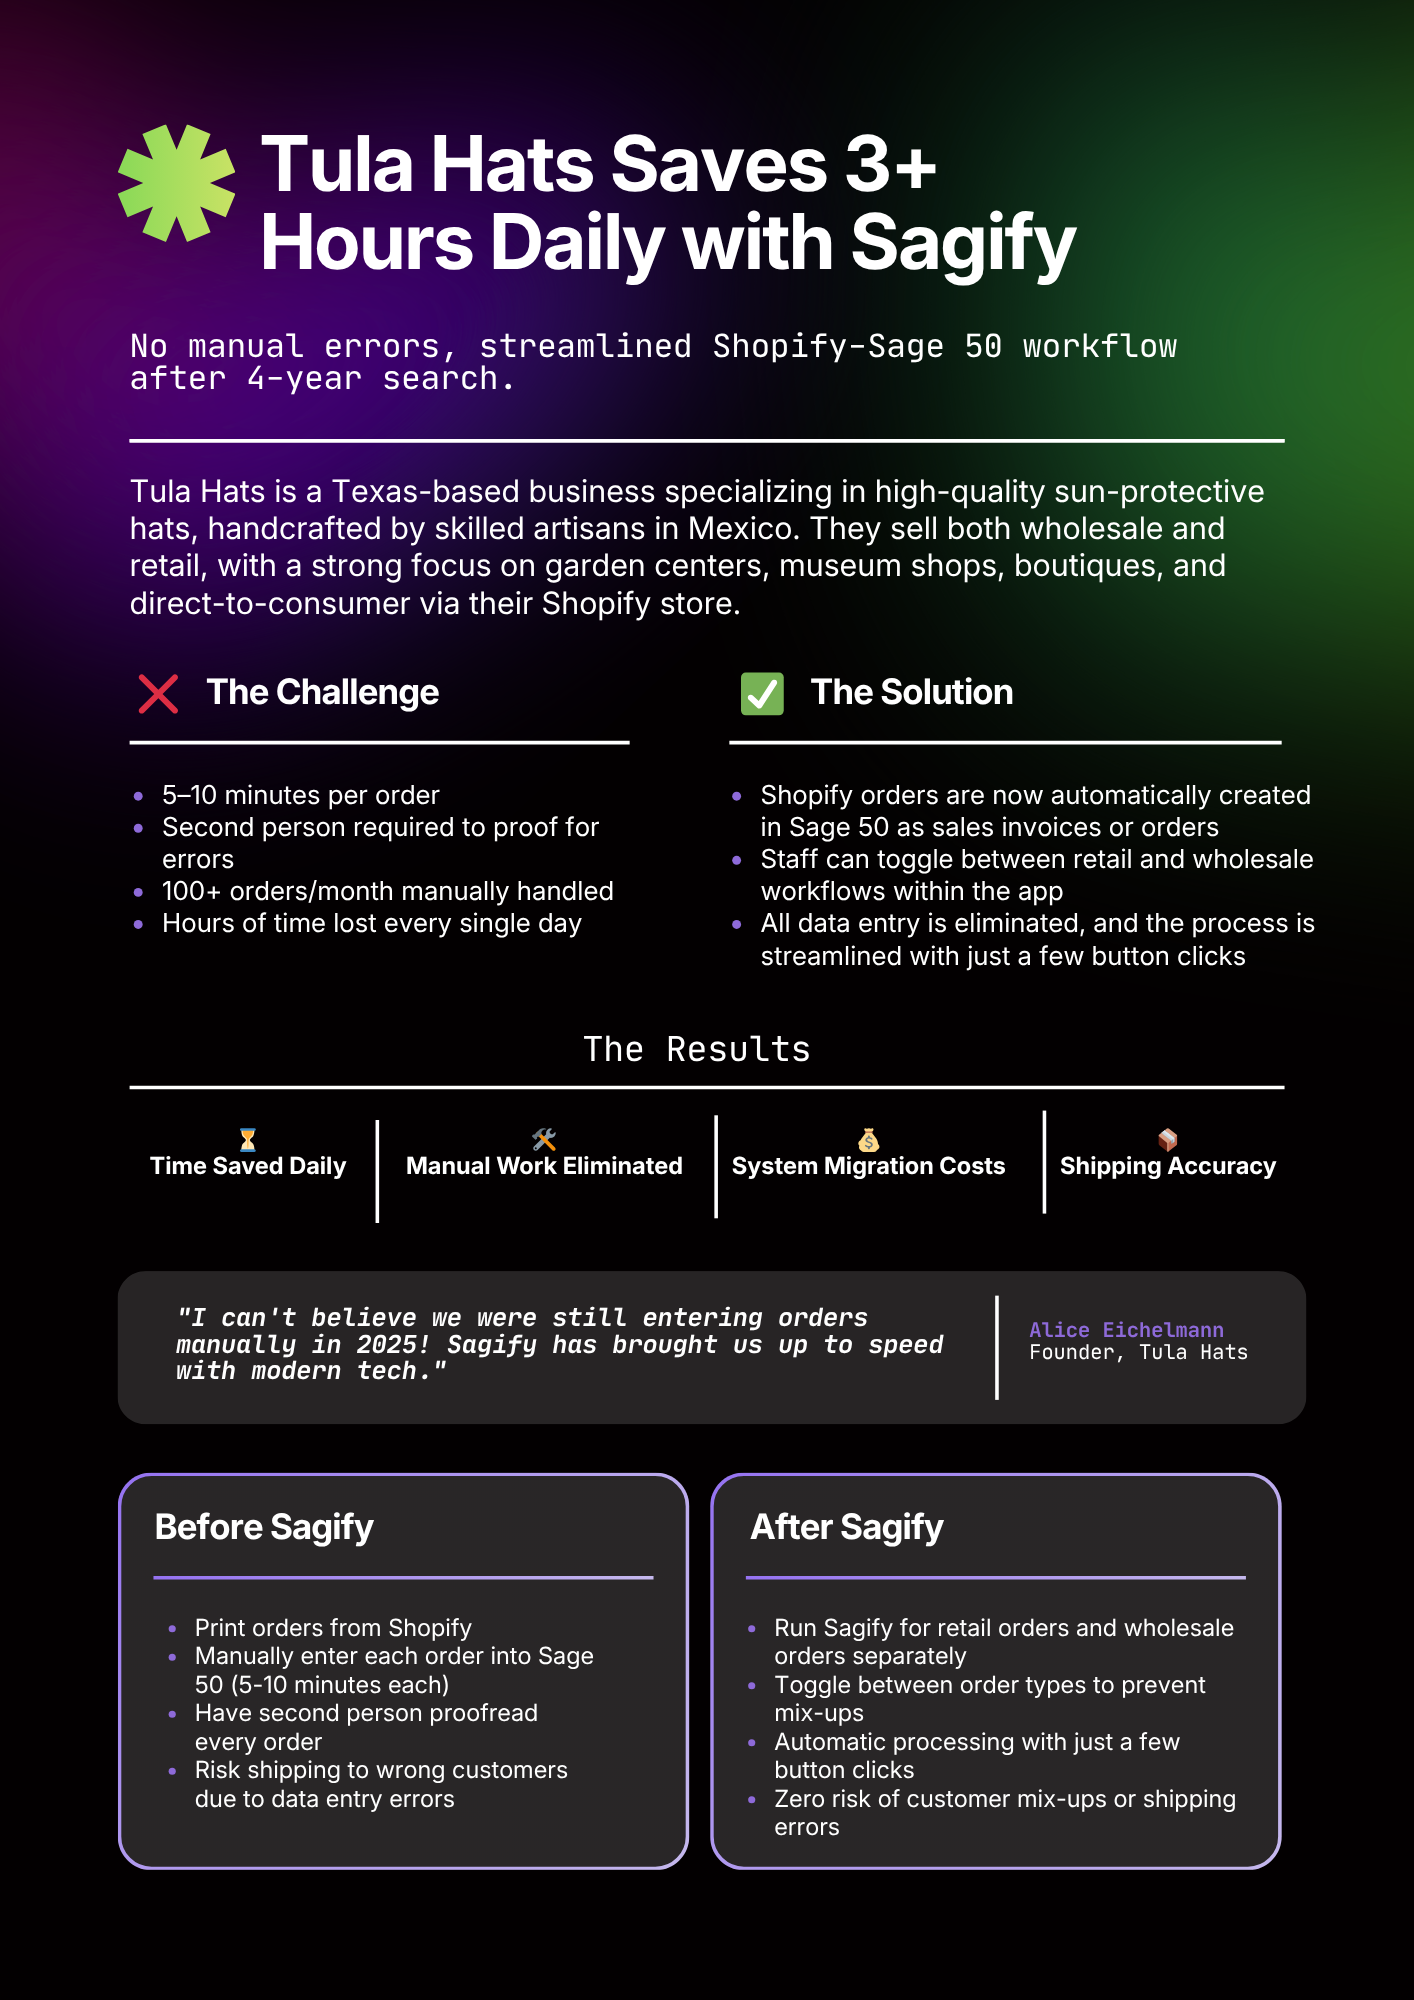
Two Sagify Case Studies, One Lesson — You Don't Have to Migrate Off Sage 50
Why Tula Hats and Emergent Respiratory didn't move to QuickBooks Online. They bridged Shopify to the Sage 50 they already trusted.
The 3 Sagify Features Every Shopify + Sage 50 User Should Run
Order import, payout reconciliation, and custom GL mapping. Here's what each does and why they matter for your Shopify-Sage 50 workflow.
How to Choose a Shopify Accounting Integration — A Buyer's Checklist
The definitive checklist for evaluating Shopify accounting integrations. What to ask, what to test, and what to look out for before you commit.